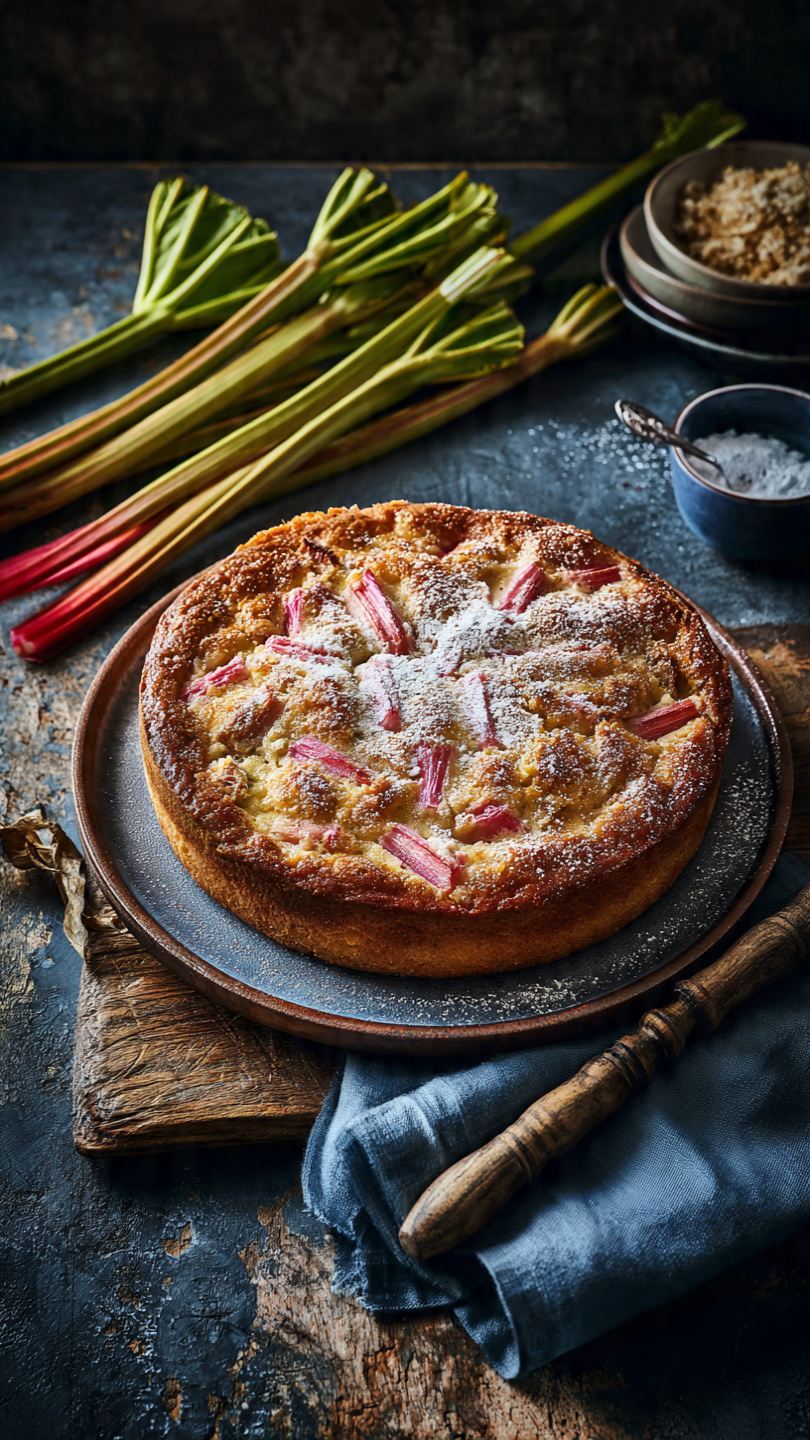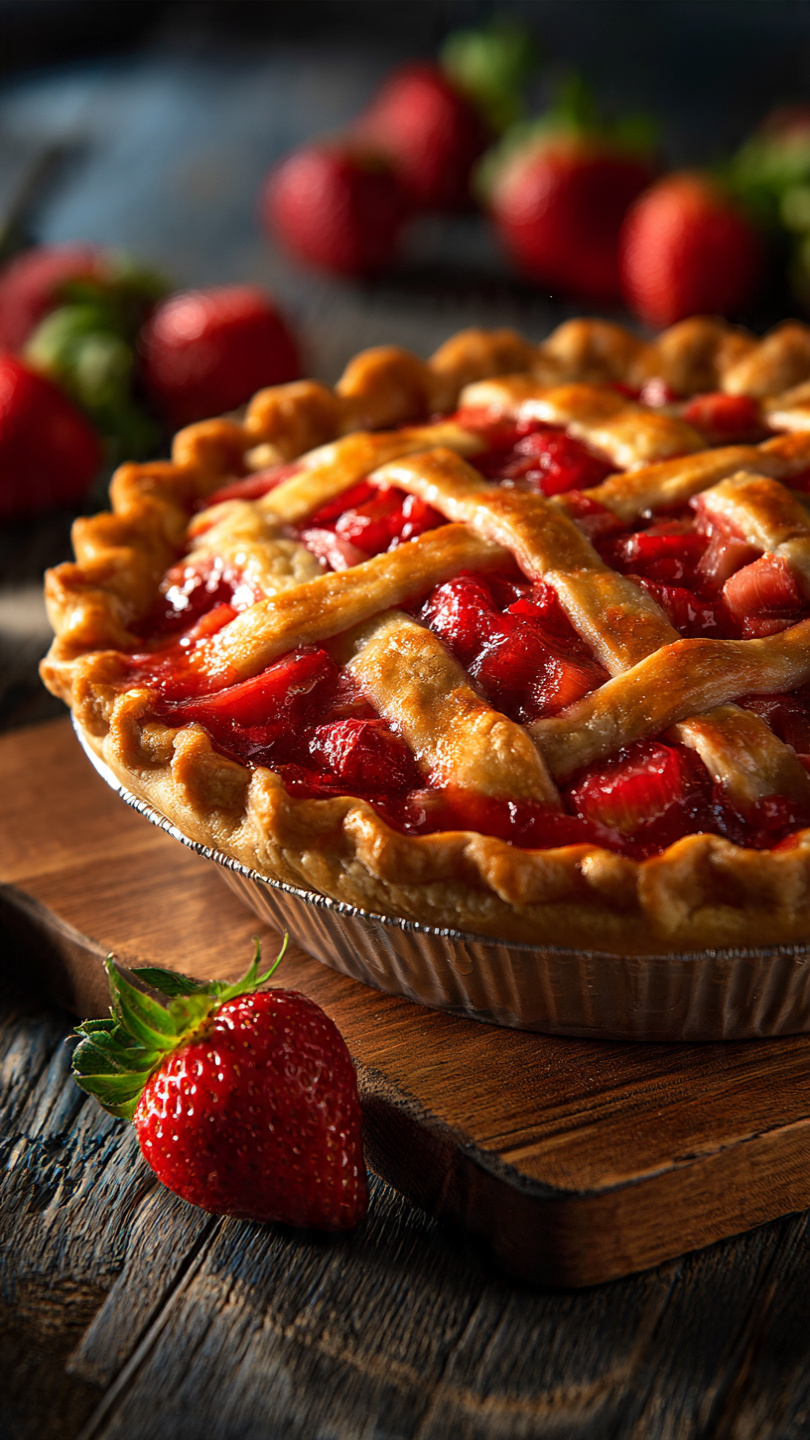
Strawberry Rhubarb Pie
This classic Strawberry Rhubarb Pie features a perfectly balanced sweet-tart filling nestled in a buttery, flaky double crust. It's the ultimate summer dessert that belongs at every family table.

The Pie That Tastes Like the Start of Summer
If there is one dessert that truly captures the spirit of early summer, it is a homemade Strawberry Rhubarb Pie. The filling is a study in contrasts: jammy, sweet strawberries woven together with tart, almost vegetal rhubarb, all thickened into a glossy, bubbling filling that practically glows through a golden, shatteringly flaky crust. It is the kind of pie that makes people stop mid-bite and ask for the recipe.
This is the version I come back to every year when the first rhubarb stalks show up at the farmers market. It is not fussy, but it does reward a little patience and cold butter.
Why This Combination Works So Well
Rhubarb on its own is aggressively sour, almost too much to eat. Strawberries on their own can veer syrupy and one-dimensional in a pie. Together, they are magic. The acidity of the rhubarb cuts through the sweetness of the strawberries, and the natural pectin and juice from both fruits meld into a filling that is complex, bright, and deeply satisfying.
The ratio matters here. Equal parts strawberry and rhubarb is the classic approach, and for good reason. It gives you the best of both without letting either fruit dominate.
Chef's Tip: If your rhubarb stalks are especially thick, split them lengthwise before slicing. This ensures the pieces cook evenly and you do not end up with tough, stringy bites in an otherwise silky filling.
Getting the Crust Right
A great pie lives and dies by its crust. For a fruit pie this juicy, you want something sturdy enough to hold the filling without getting soggy, yet tender and flaky enough to shatter at the fork. That means cold butter, minimal handling, and patience.
Do not be tempted to skip the chilling step. Cold dough rolls out beautifully and holds its shape in the oven. Warm dough tears, shrinks, and turns dense. Give your dough at least one hour in the fridge, and overnight if you can manage it.
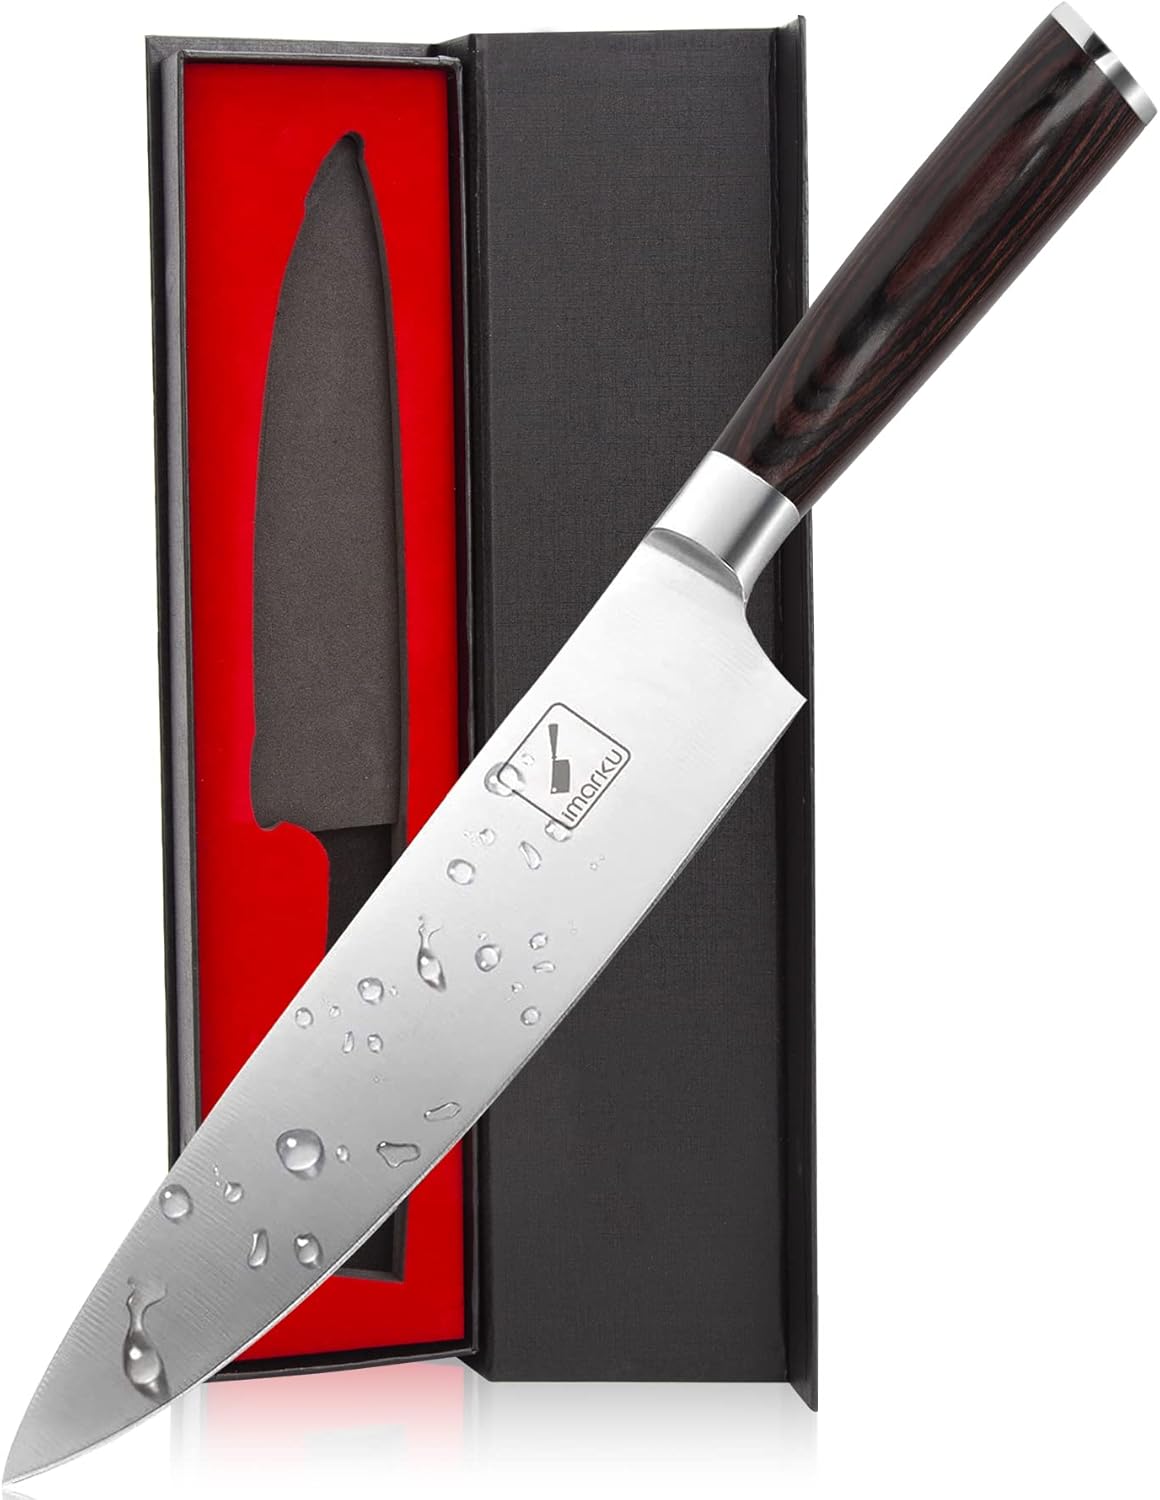
Using the right tools makes a real difference here. A quality pastry cutter gives you better control over butter incorporation than using your hands, and a heavy rolling pin makes rolling an even crust far easier.
Tools & Ingredients We Recommend


Building the Filling
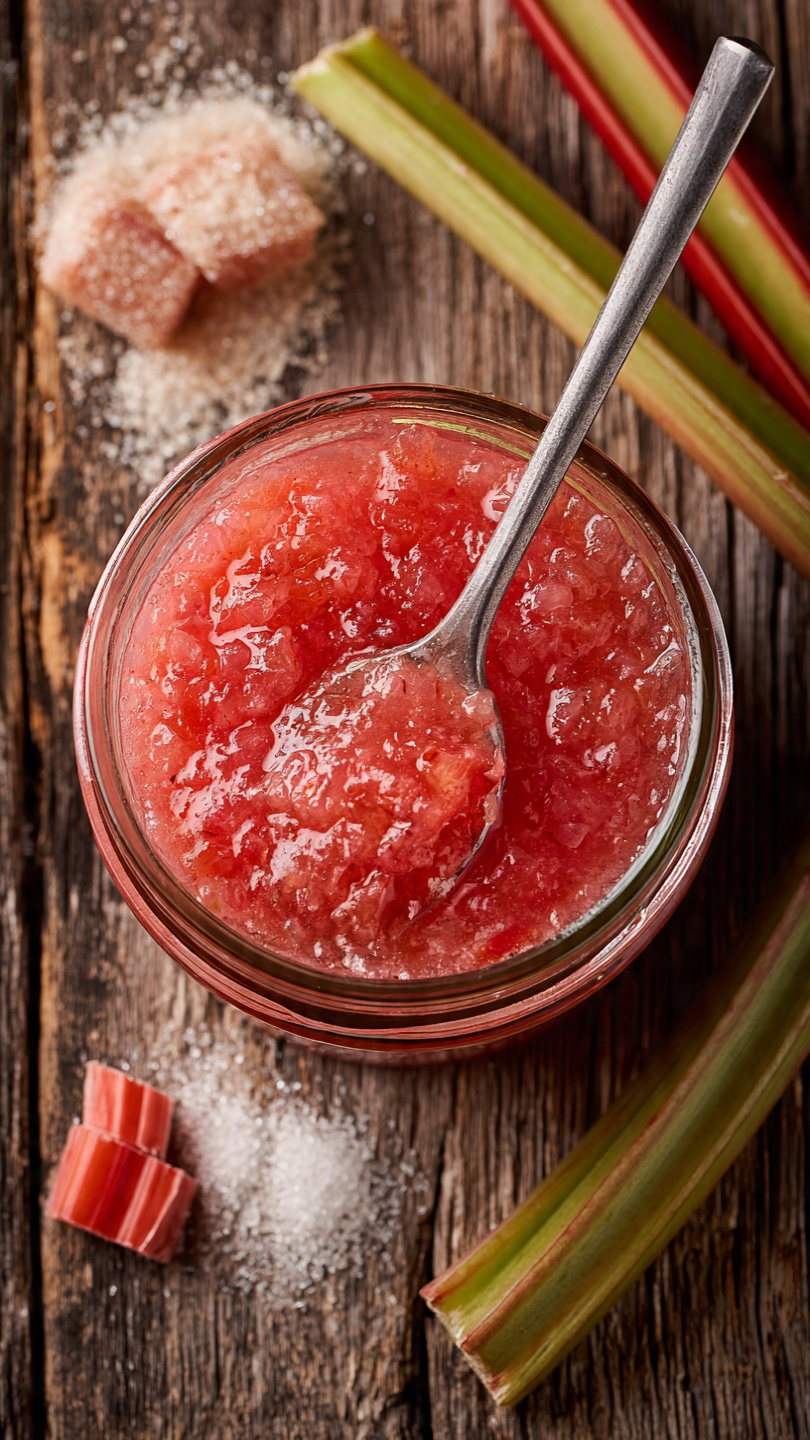
Once your strawberries are hulled and sliced and your rhubarb is trimmed and cut, the filling comes together in minutes. Toss everything with sugar, cornstarch, a splash of lemon juice, and a little vanilla. Then let it sit for about 15 minutes.
This resting period is important. The sugar draws out moisture from the fruit, which gives you a sense of just how juicy your filling will be. Before pouring it into the crust, drain off the excess liquid that pools at the bottom of the bowl. Adding all that liquid directly to the pie is one of the most common reasons pies turn out runny.
The cornstarch does the thickening work as the pie bakes. By the time it comes out of the oven with the filling bubbling through the vents, it will look almost too loose. Trust the process. As it cools, it sets into a perfectly sliceable filling.
The Secret to Clean Slices
Patience. That is it. That is the whole secret.
Every instinct will tell you to cut into that gorgeous pie the moment it comes out of the oven. Resist. The filling needs at least 3 hours to cool and set at room temperature. Cut too early and you will have a beautiful, delicious mess. Cut after it has fully cooled and you will get clean, picture-perfect slices every time.
Ready to bake the best pie of the season? Here is everything you need:
Strawberry Rhubarb Pie
This classic Strawberry Rhubarb Pie features a perfectly balanced sweet-tart filling nestled in a buttery, flaky double crust. It's the ultimate summer dessert that belongs at every family table.
Ingredients
- 2 1/2 cups all-purpose flour, plus more for dusting
- 1 tbsp granulated sugar, for the crust
- 1 tsp salt
- 1 cups unsalted butter, cold, cut into small cubes
- 6 tbsp ice water, added one tablespoon at a time
- 3 cups fresh strawberries, hulled and sliced
- 3 cups fresh rhubarb, trimmed and sliced into 0.5-inch pieces
- 1 cups granulated sugar, for the filling, adjust to taste
- 1/4 cups cornstarch
- 1 tbsp lemon juice, freshly squeezed
- 1 tsp vanilla extract
- 1 large egg, beaten, for egg wash
- 1 tbsp coarse sugar, for sprinkling on top crust
Instruction
Make the pie dough: In a large bowl, whisk together the flour, 1 tablespoon sugar, and salt. Add the cold butter cubes and use a pastry cutter or your fingertips to work the butter into the flour until the mixture resembles coarse crumbs with some pea-sized pieces remaining.
Drizzle in the ice water one tablespoon at a time, stirring gently with a fork after each addition, until the dough just comes together and holds when pressed. Divide the dough in half, flatten each half into a disk, wrap in plastic wrap, and refrigerate for at least 1 hour or overnight.
Prepare the filling: In a large bowl, combine the sliced strawberries, rhubarb, 1 cup granulated sugar, cornstarch, lemon juice, and vanilla extract. Stir gently to coat and set aside for 15 minutes to macerate.
Preheat your oven to 425 degrees F (220 degrees C). Place a rimmed baking sheet on the lowest rack to catch any drips.
On a lightly floured surface, roll out one disk of dough into a 12-inch circle. Carefully transfer it to a 9-inch pie plate, pressing it gently into the bottom and sides. Trim any overhang to about 1 inch.
Pour the strawberry rhubarb filling into the crust, spreading it evenly. Discard any excess liquid that has pooled at the bottom of the bowl to prevent a soggy pie.
Roll out the second dough disk into a 12-inch circle. Lay it over the filling. Trim, fold, and crimp the edges together to seal. Cut several slits in the top crust to allow steam to escape.
Brush the top crust and edges with the beaten egg wash and sprinkle generously with coarse sugar.
Bake at 425 degrees F for 20 minutes, then reduce the oven temperature to 375 degrees F (190 degrees C) and bake for an additional 30 to 35 minutes, until the crust is deep golden brown and the filling is bubbling through the vents.
Transfer the pie to a wire rack and let it cool for at least 3 hours before slicing. This resting time is essential for the filling to set properly.
Equipment
- 9-inch pie plate
- Large mixing bowl
- Pastry cutter
- Rolling pin
- Rimmed baking sheet
- Pastry brush
- Wire cooling rack
- Plastic wrap
Notes
Serving and Storing
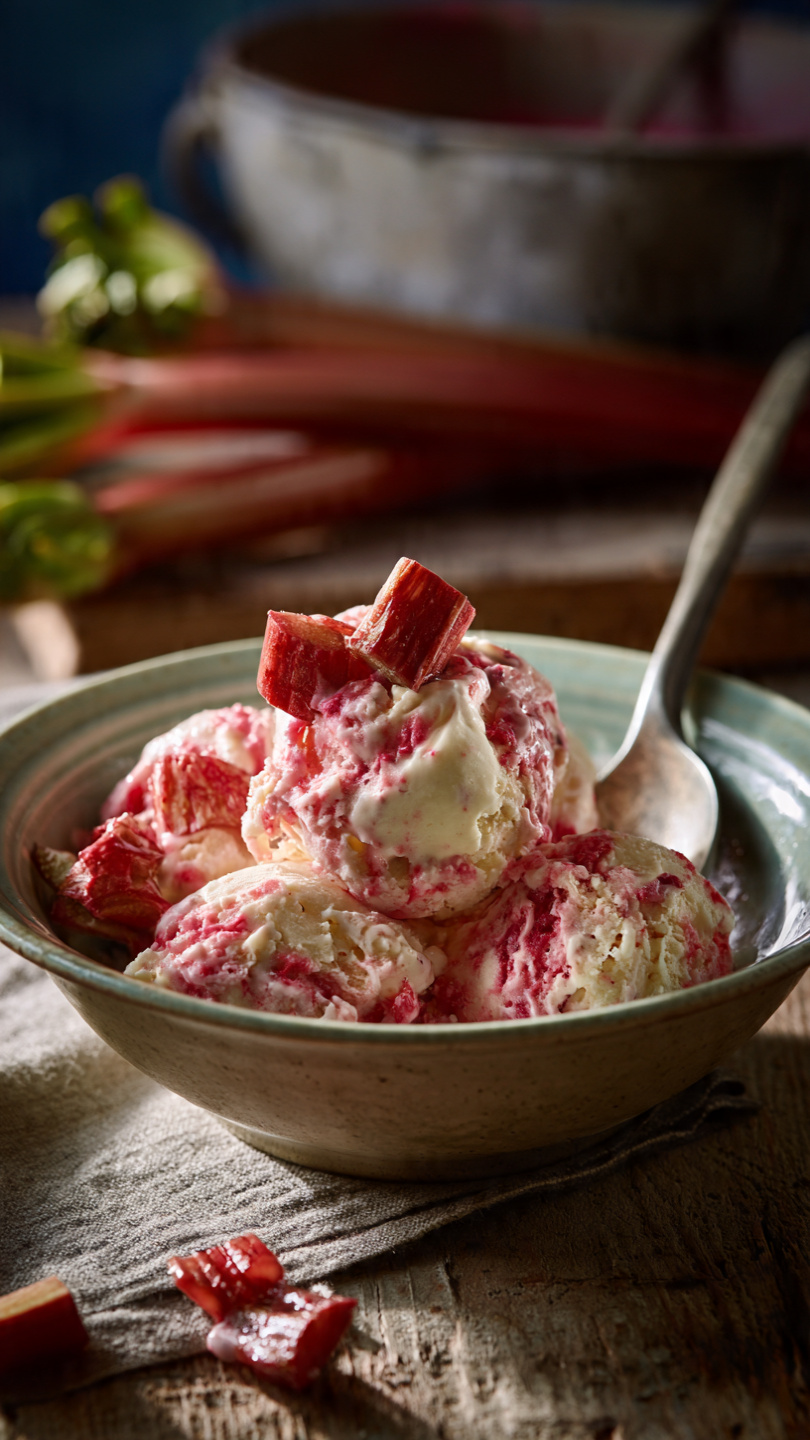
Serve this pie at room temperature or slightly warm, with a generous scoop of vanilla ice cream or a dollop of freshly whipped cream. The cold cream against the warm, tart filling is one of the great pleasures of summer baking.
Leftovers keep well loosely covered at room temperature for two days, or in the refrigerator for up to five days. Individual slices reheat beautifully in a 350 degree F oven for about ten minutes, which revives the crust and warms the filling through without turning it soggy.
For a lattice-top variation, simply cut your second dough disk into strips and weave them over the filling before baking. It takes a few extra minutes and looks absolutely stunning on the table.