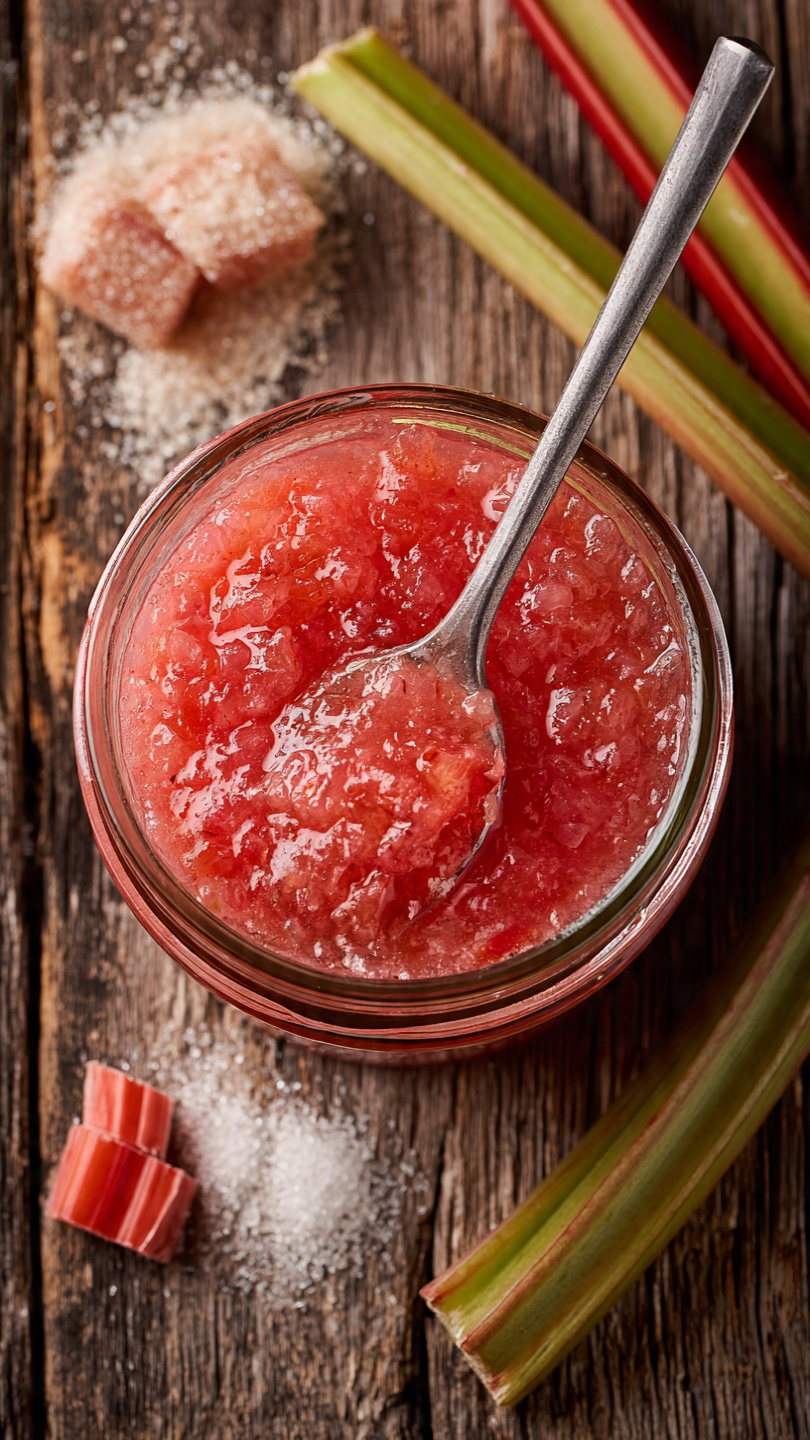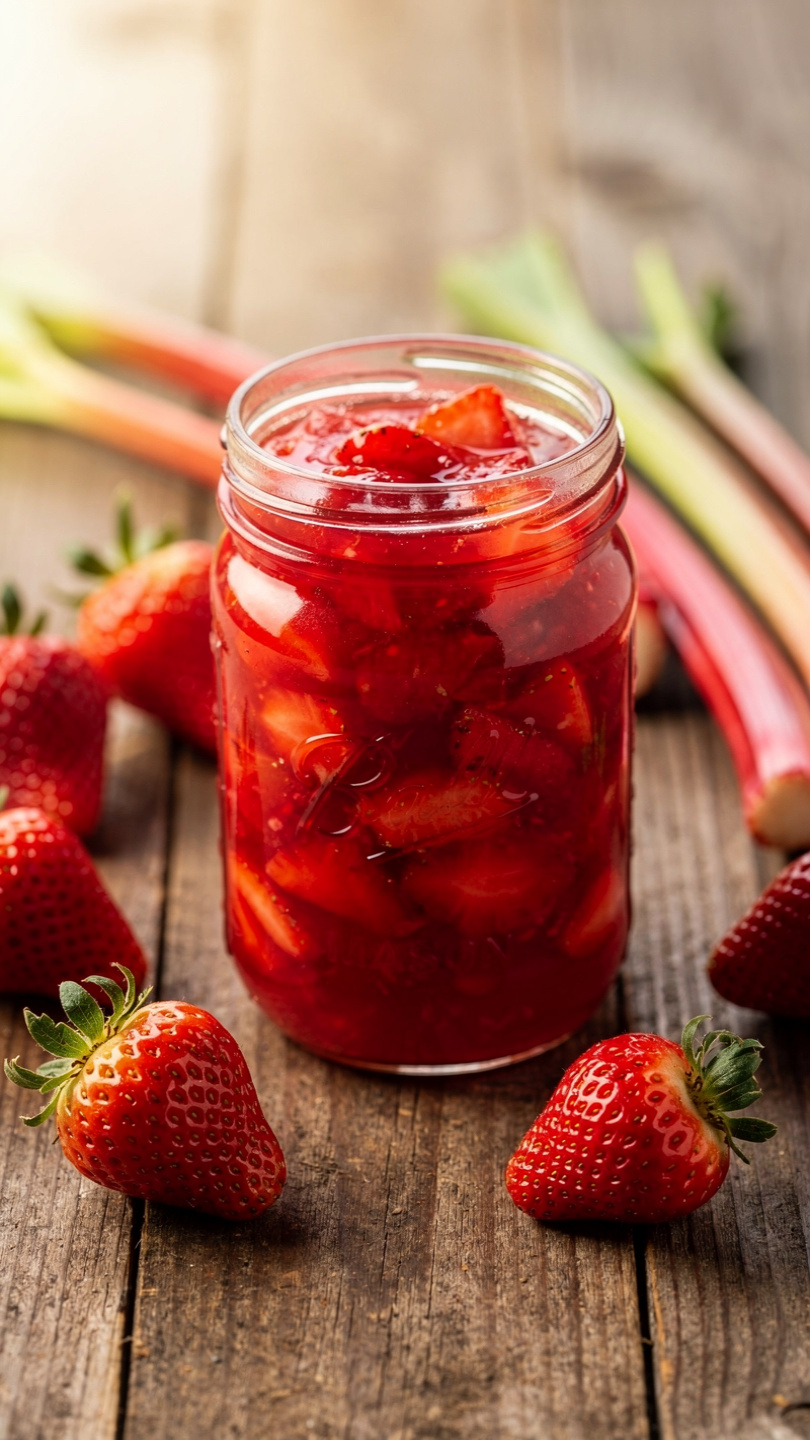
Homemade Strawberry Rhubarb Jam
This Homemade Strawberry Rhubarb Jam is sweet, tangy, and bursting with fresh summer flavor. Made with just a handful of simple ingredients, it spreads beautifully on toast, biscuits, and so much more.

The Jam That Tastes Like the First Day of Summer
There is something almost magical about strawberry rhubarb jam. It captures that fleeting moment in late spring when the last of the rhubarb and the first flush of strawberries arrive at the same time, practically begging to be cooked together. The result is a jam that is boldly fruity, perfectly sweet, and just tart enough to make your taste buds sit up and pay attention.
This recipe is the kind you will want to make in big batches and tuck away in your pantry. A jar of this on your shelf in January feels like a small, edible miracle.
Why This Combination Works So Well
Strawberries bring sweetness, floral aroma, and a gorgeous deep red color. Rhubarb brings sharp, almost citrusy tartness and a natural pectin content that helps the jam set beautifully without needing much help. Together, they balance each other in a way that neither could achieve alone.
A little lemon juice sharpens everything and helps preserve the color. A touch of lemon zest adds a subtle brightness that makes the finished jam taste genuinely homemade rather than store-bought.
Chef's Tip: Use the ripest, most fragrant strawberries you can find. Farmers market berries or backyard-picked fruit will produce a noticeably more flavorful jam than supermarket varieties.
Getting Your Kitchen Set Up
Making jam is a wonderfully low-tech process, but having the right equipment on hand makes everything smoother and safer. A heavy-bottomed pot is genuinely important here since it distributes heat evenly and prevents the sugar from scorching on the bottom.
Using quality canning jars and a proper water bath setup also ensures your jars seal correctly and stay shelf-stable for months.
Tools & Ingredients We Recommend


The Secret to a Perfect Set (No Guesswork)
The single biggest concern most first-time jam makers have is whether the jam will set properly. The good news is that the wrinkle test takes all the guesswork out of it.
Here is how it works:
- Place two or three small plates in the freezer before you start cooking.
- When the jam looks thick and glossy, spoon a small amount onto a chilled plate.
- Wait 30 seconds, then push the jam gently with your fingertip.
- If it wrinkles and holds its shape, it is ready. If it runs back together, cook for another 3 to 5 minutes and test again.
Do not rush this step. Pulling the jam off the heat too early is the most common reason homemade jam ends up too loose.
Fresh vs. Frozen Fruit
Fresh strawberries and rhubarb will always give you the brightest, most vibrant flavor. That said, frozen fruit works beautifully in this recipe and is a great option outside of peak season. Just thaw it fully, drain off the extra liquid, and proceed as normal. You may need a few extra minutes of cooking time to account for the added moisture.
Ready to make a batch of your own? Here is the full recipe with exact measurements and step-by-step instructions:
Homemade Strawberry Rhubarb Jam
This Homemade Strawberry Rhubarb Jam is sweet, tangy, and bursting with fresh summer flavor. Made with just a handful of simple ingredients, it spreads beautifully on toast, biscuits, and so much more.
Ingredients
- 4 cups fresh strawberries, hulled and roughly chopped
- 2 cups fresh rhubarb, trimmed and cut into 0.5-inch pieces
- 3 cups granulated sugar
- 2 tbsp fresh lemon juice, from about 1 large lemon
- 1 tsp lemon zest, optional but recommended
- 1 tbsp powdered pectin, optional, for a firmer set
Instruction
Sterilize your jars by placing them in a large pot of boiling water for 10 minutes. Set them on a clean towel to dry.
Combine the chopped strawberries and rhubarb in a large, heavy-bottomed saucepan or Dutch oven over medium heat.
Add the granulated sugar, lemon juice, and lemon zest. Stir well to coat the fruit evenly.
Bring the mixture to a boil over medium-high heat, stirring frequently to prevent scorching on the bottom.
Once boiling, reduce the heat to medium and continue to cook, stirring often, for 25 to 30 minutes. Skim off any foam that rises to the surface.
If using pectin, whisk it in during the last 5 minutes of cooking for a firmer consistency.
To test for doneness, place a small spoonful of jam on a chilled plate. Push it with your finger after 30 seconds. If it wrinkles and holds its shape, the jam is ready.
Remove the pan from heat and let the jam rest for 5 minutes, stirring once to distribute the fruit evenly.
Carefully ladle the hot jam into your sterilized jars, leaving about 0.25 inches of headspace at the top.
Wipe the jar rims clean, place the lids on, and tighten the bands fingertip-tight.
Process the sealed jars in a boiling water bath for 10 minutes for shelf-stable storage, or simply let them cool and refrigerate for immediate use.
Allow the jars to cool completely at room temperature, undisturbed, for 12 to 24 hours before checking the seals.
Equipment
- Large heavy-bottomed saucepan or Dutch oven
- Wooden spoon or heat-safe silicone spatula
- Ladle
- Canning jars with lids and bands (4 to 6 half-pint jars)
- Large stockpot for water bath canning
- Jar lifter or tongs
- Fine mesh skimmer
- Chilled plate for the set test
- Canning funnel (optional but helpful)
Notes
Serving and Storing Your Jam
Once your jars are cooled and sealed, the possibilities are genuinely delicious:
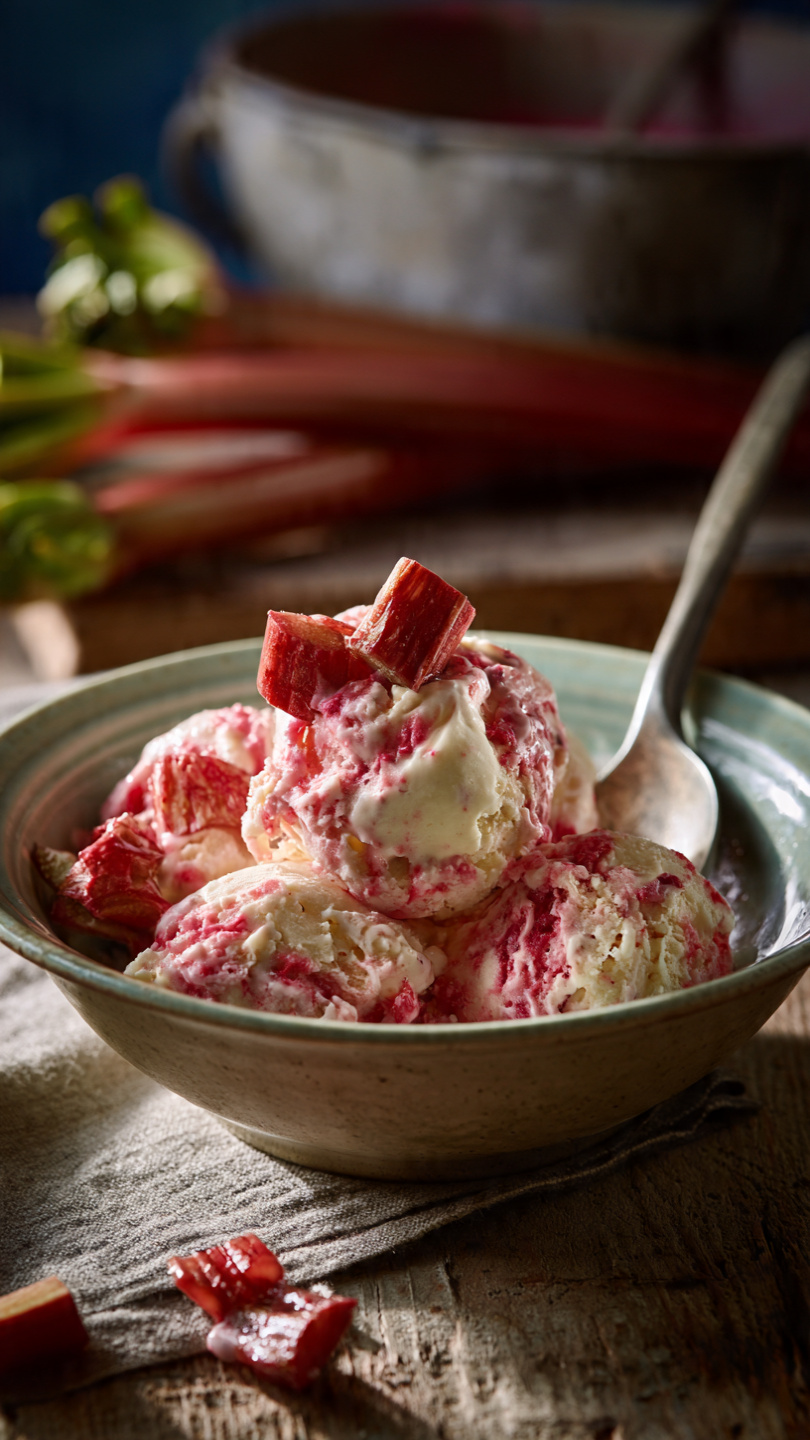
- Spread it on buttered toast, biscuits, scones, or English muffins.
- Swirl it into plain yogurt or oatmeal for a fast, flavorful breakfast.
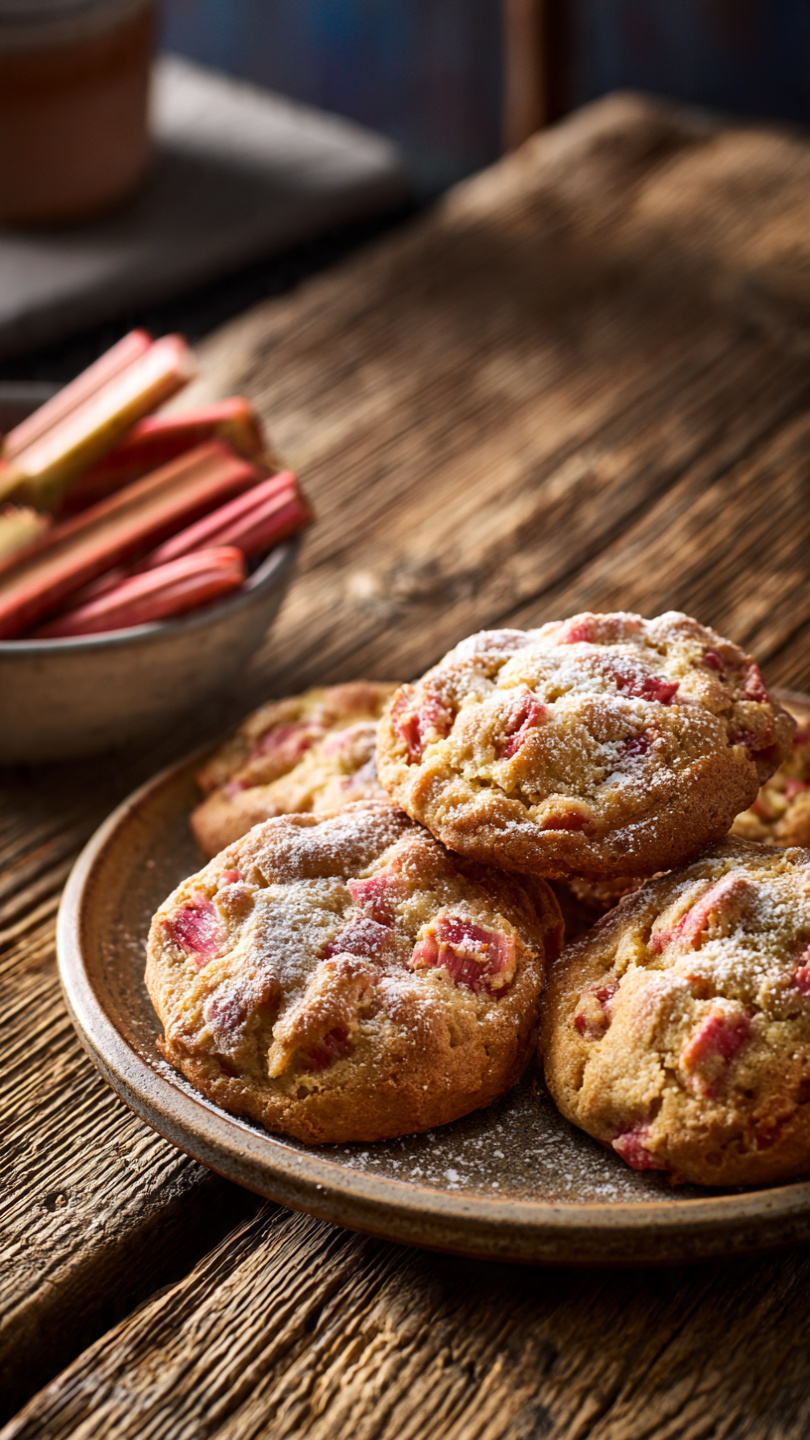
- Use it as a filling for thumbprint cookies, layer cakes, or crepes.
- Pair it with sharp cheddar on a cheese board for a sweet-savory contrast that always impresses guests.
Properly sealed jars will keep in your pantry for up to a year. Once opened, refrigerate and use within about a month. If you skipped the water bath canning step, store all jars in the refrigerator from the start and enjoy them within four weeks.