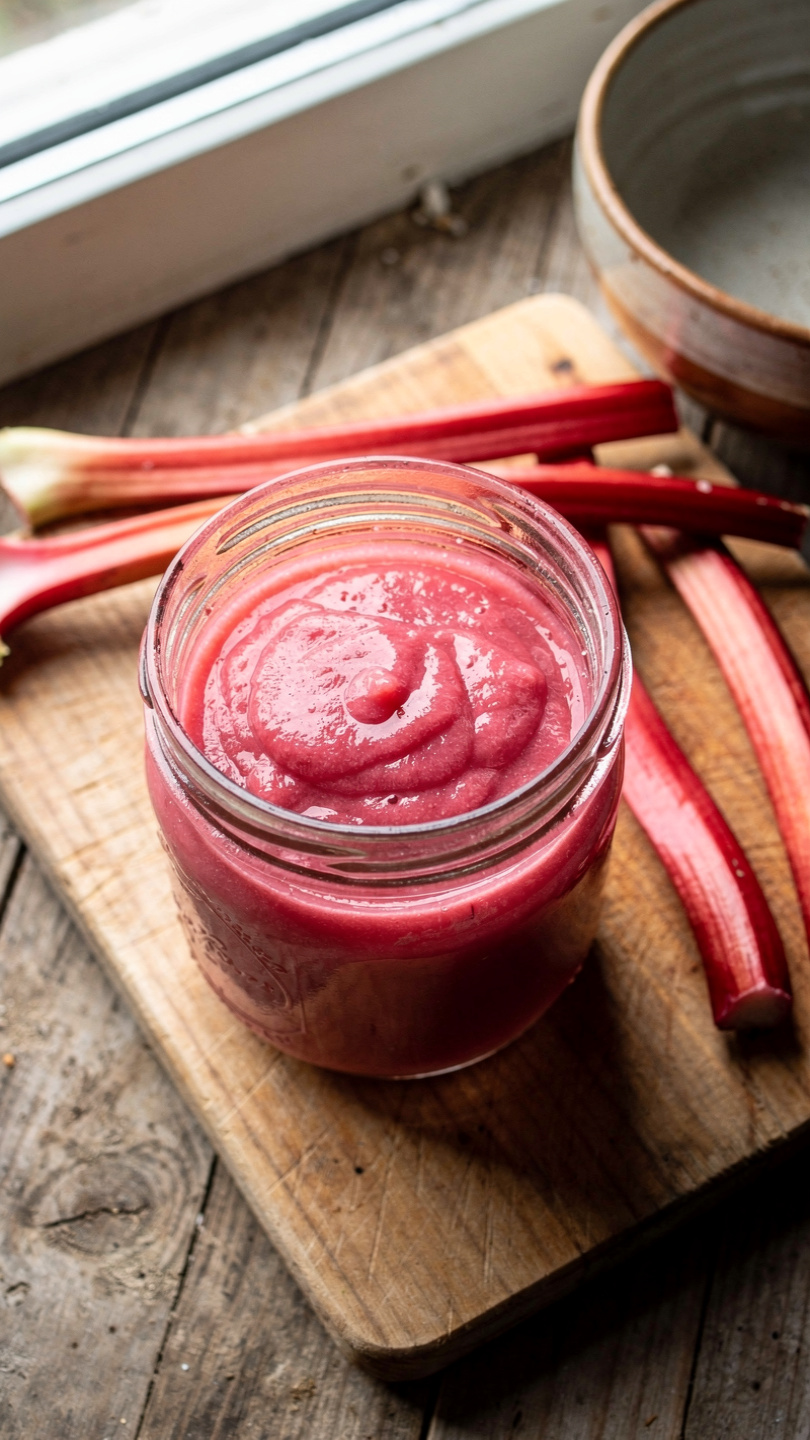
Homemade Rhubarb Curd (Silky, Tangy, and Irresistible)
This silky homemade rhubarb curd is bursting with tangy, floral flavor and comes together in just 30 minutes on the stovetop. Spread it on toast, swirl it into yogurt, or use it to fill tarts and cakes.

The Most Underrated Spring Spread You Are Not Making Yet
Every spring, strawberries and lemon get all the glory. But tucked quietly beside them at the farmers market is rhubarb, one of the most underappreciated ingredients of the season. Tart, floral, and almost jewel-bright when cooked, rhubarb deserves its own moment in the spotlight. And this silky homemade rhubarb curd is exactly that moment.
Think of it like lemon curd's slightly wilder, more complex cousin. It has the same rich, buttery texture and the same gentle sweetness, but with a tangy edge and a floral depth that feels completely unique. Spread it on warm scones, swirl it into Greek yogurt, layer it between cake tiers, or simply eat it by the spoonful straight from the jar. No judgment here.
Why You Will Love This Recipe
This curd comes together with just 8 simple ingredients and about 30 minutes of your time. There is no fancy candy thermometer required (though it helps), and the technique is far more forgiving than most people expect. A few things make this recipe stand out:
- Double-straining the rhubarb puree and finished curd gives you an impossibly smooth texture
- Cold butter added off the heat creates that glossy, luxurious consistency
- Lemon juice and zest brighten the rhubarb's natural flavor without competing with it
- The recipe stores beautifully for up to two weeks in the fridge
Chef's Tip: Seek out deeply red rhubarb stalks for the prettiest blush-colored curd. Greener stalks taste just as good but will yield a more golden, mustard-toned result.
The Right Tools Make All the Difference
For a curd this smooth and luxurious, a reliable double boiler setup and a fine-mesh strainer are genuinely worth having in your kitchen. Using the right cookware also matters since acidic recipes like this one should never be made in reactive metals like aluminum or uncoated cast iron.
Tools & Ingredients We Recommend


A Note on Rhubarb Season
Fresh rhubarb typically appears at markets from late March through June, with peak season landing in April and May depending on your region. If you find yourself craving this curd outside of those months, frozen rhubarb is a perfectly reliable substitute. Since you are cooking the rhubarb down into a puree, the texture difference between fresh and frozen is completely undetectable in the final curd.
When selecting fresh stalks, look for firm, glossy, brightly colored rhubarb with no soft spots or dry ends. Always discard the leaves, which contain oxalic acid and are toxic.
Tips for a Perfect Curd Every Time
Low and slow is the golden rule. The most common mistake people make with curd is using too much heat, which causes the eggs to scramble. Keep your water at a gentle simmer, not a rolling boil, and whisk steadily throughout the cooking process.
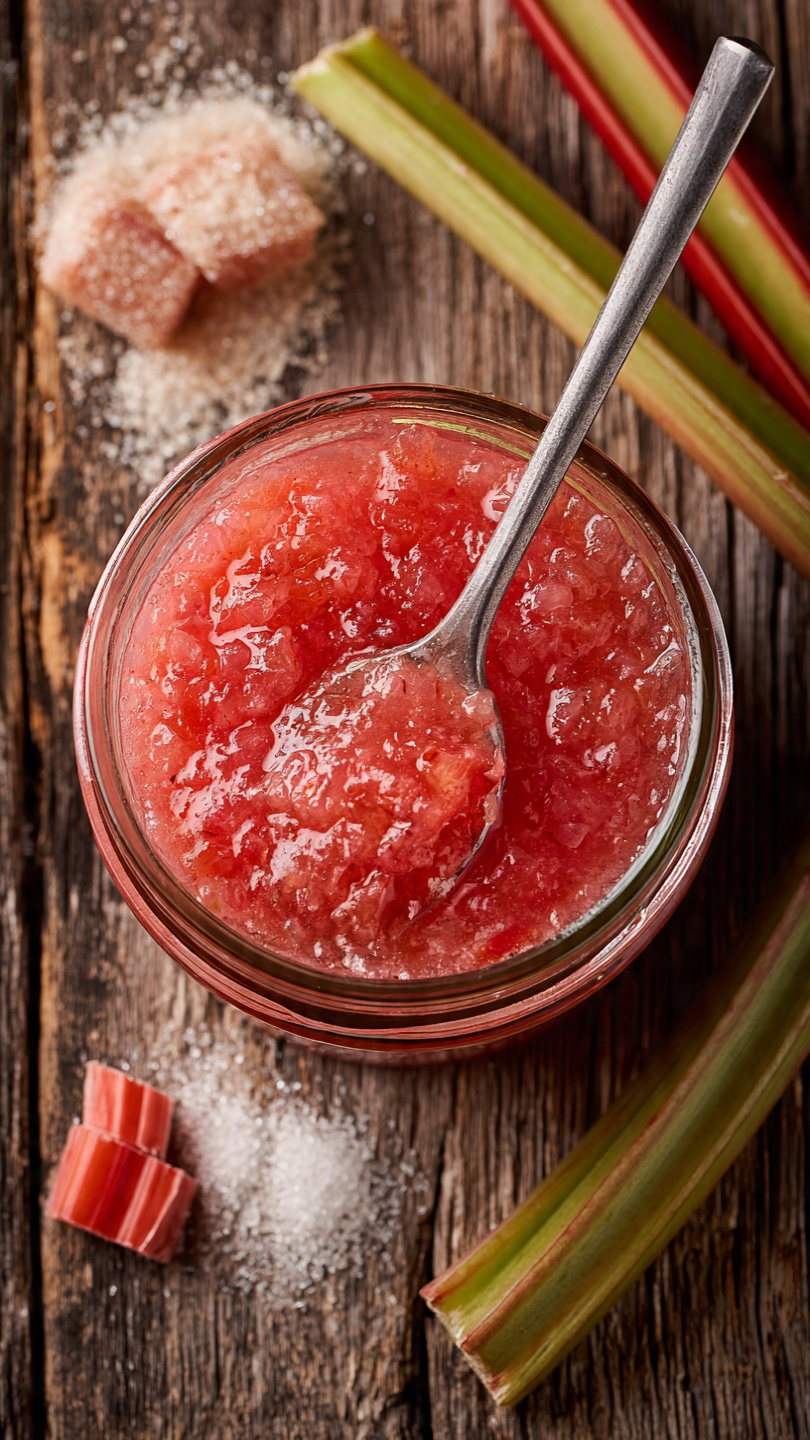
Do not skip the straining. Pressing the cooked rhubarb through a fine-mesh strainer removes all the fibrous strings that would otherwise make the curd feel gritty. A second strain of the finished curd is optional but highly recommended for a truly silky result.
Know when it is done. The curd is ready when it coats the back of a spoon and holds a clean line when you draw your finger through it. An instant-read thermometer reading of around 170 degrees F is your most reliable signal.
Ready to make a jar (or three) of this gorgeous spring spread? Here is the full recipe:
Homemade Rhubarb Curd (Silky, Tangy, and Irresistible)
This silky homemade rhubarb curd is bursting with tangy, floral flavor and comes together in just 30 minutes on the stovetop. Spread it on toast, swirl it into yogurt, or use it to fill tarts and cakes.
Ingredients
- 4 rhubarb stalks, trimmed and chopped into 1-inch pieces, about 2 cups
- 3/4 cups granulated sugar
- 3 large eggs, room temperature, lightly beaten
- 4 tbsp unsalted butter, cut into small cubes, cold
- 1 tbsp fresh lemon juice, freshly squeezed
- 1 tsp lemon zest, finely grated
- 1/2 tsp vanilla extract, pure, not imitation
- 1/8 tsp kosher salt
Instruction
Place the chopped rhubarb and 2 tablespoons of the sugar in a small saucepan over medium heat. Cook, stirring occasionally, for 8 to 10 minutes until the rhubarb completely breaks down and becomes very soft.
Transfer the cooked rhubarb to a fine-mesh strainer set over a bowl. Press firmly with the back of a spoon to extract as much juice and pulp as possible. You should have about 0.5 cup of smooth rhubarb puree. Discard the fibrous solids.
Set up a double boiler by placing a heatproof bowl over a saucepan of barely simmering water. Make sure the bottom of the bowl does not touch the water.
Combine the rhubarb puree, remaining sugar, lemon juice, lemon zest, and salt in the heatproof bowl. Whisk until the sugar begins to dissolve.
Add the beaten eggs to the bowl and whisk constantly over the simmering water for 8 to 10 minutes, until the mixture thickens enough to coat the back of a spoon and holds a line when you draw your finger through it. The curd should reach about 170 degrees F (77 degrees C).
Remove the bowl from the heat. Add the cold butter cubes a few at a time, whisking each addition until fully melted and incorporated.
Stir in the vanilla extract. Strain the finished curd through the fine-mesh strainer one more time for an ultra-silky texture.
Pour into clean glass jars and press a piece of plastic wrap directly onto the surface of the curd to prevent a skin from forming. Refrigerate for at least 2 hours before serving. The curd will thicken further as it cools.
Equipment
- Small saucepan
- Heatproof bowl (for double boiler)
- Fine-mesh strainer
- Whisk
- Wooden spoon or silicone spatula
- Instant-read thermometer
- Glass jars with lids
Notes
Ways to Use Rhubarb Curd
Once you have a jar of this in your fridge, you will find yourself reaching for it constantly. Here are some of the best ways to use it:
- Spread on toast, crumpets, or warm buttermilk scones
- Swirl into vanilla yogurt or overnight oats for a bright, tangy breakfast
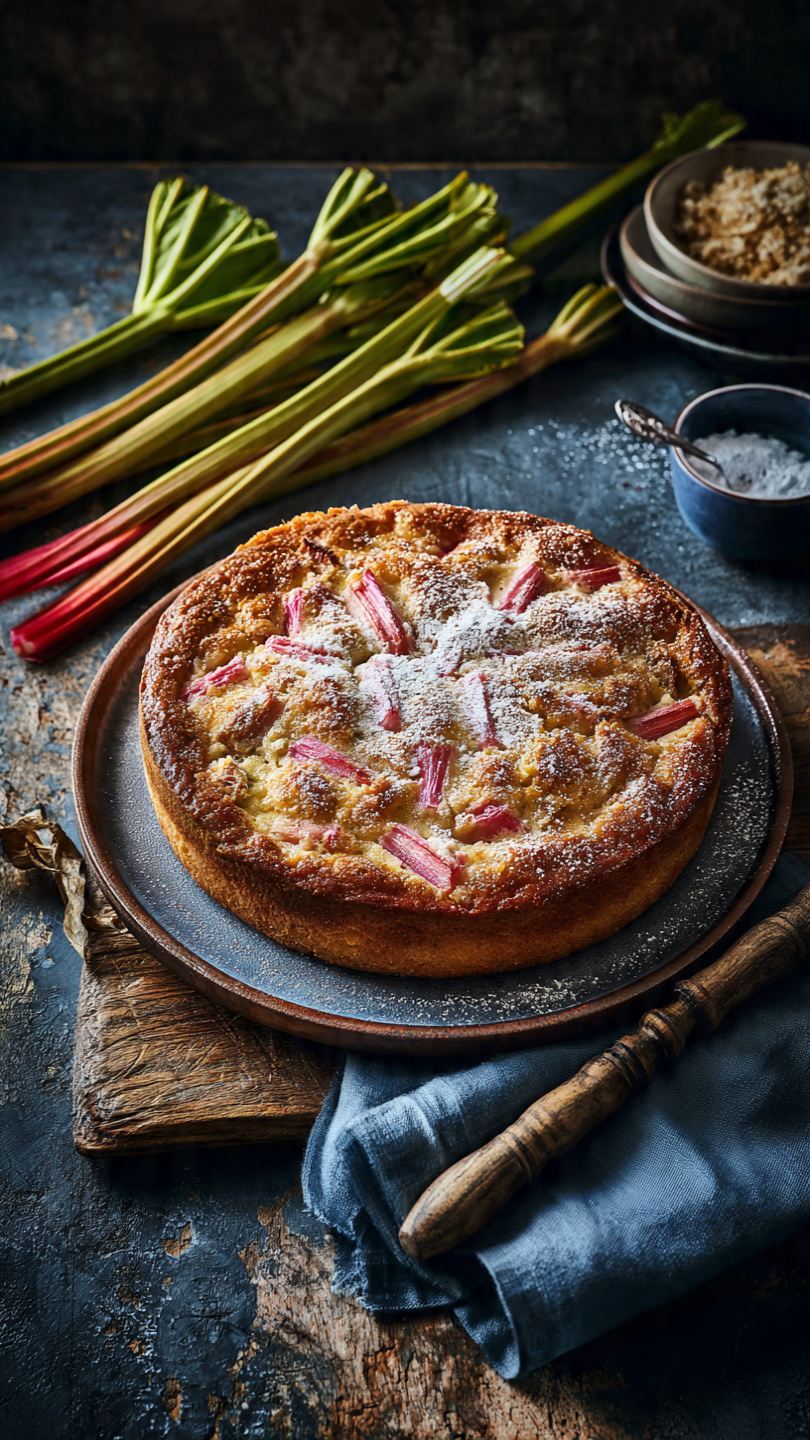
- Fill tart shells, layer cakes, or Swiss roll sponges
- Dollop over vanilla panna cotta or cheesecake as a vibrant topping
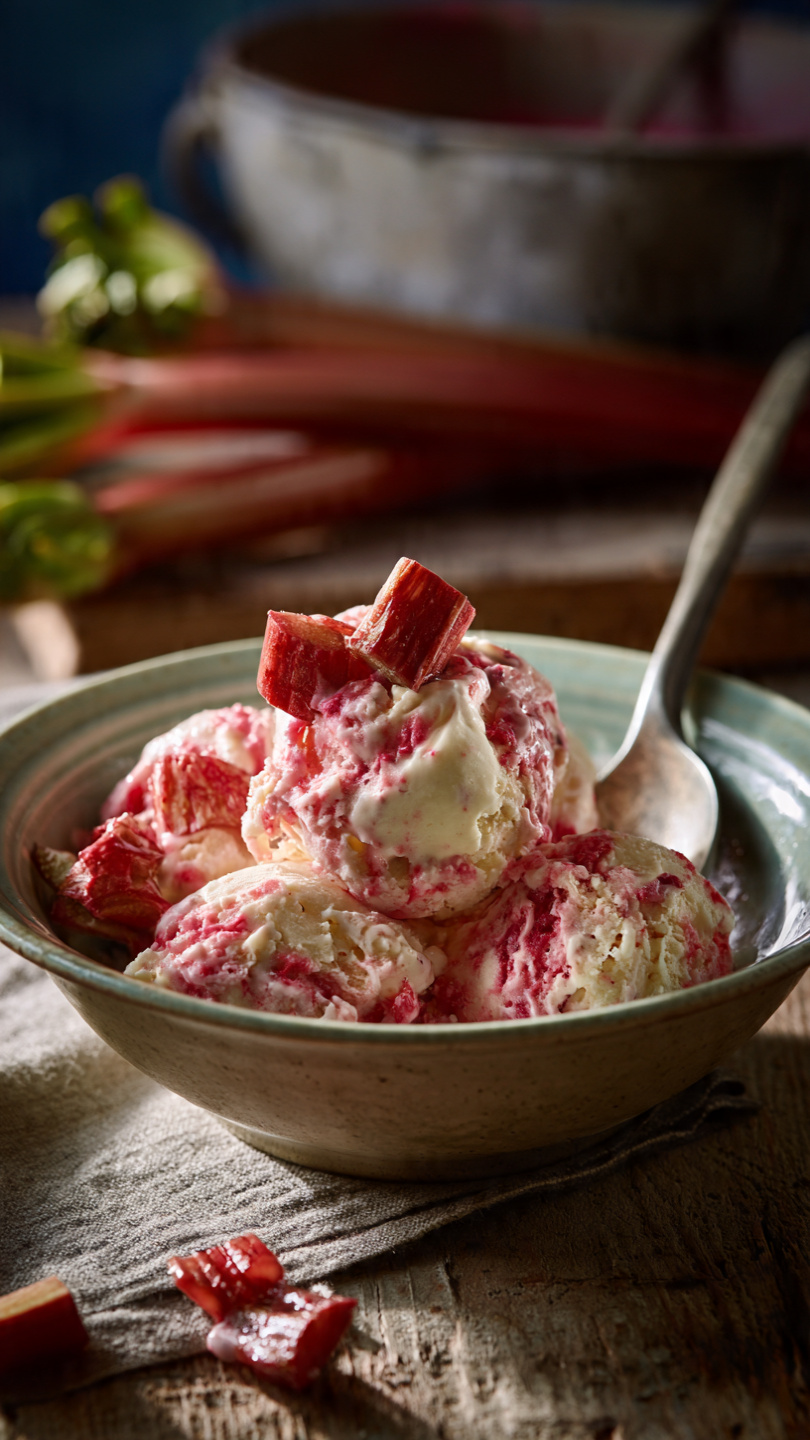
- Fold into whipped cream for a quick rhubarb fool
However you choose to use it, one jar never seems to be enough.